Showing posts with label crafts. Show all posts

Friday, April 29, 2011

Wreath to Adorn My Door

My front door has been bare for far too long. I have wanted something to spice it up and I found just the project.

Using dried lima beans, hot glue, a straw wreath, spray paint and a ribbon, I created this beauty. The ribbon can be changed with the season to create a similar yet different look.

Here it is hanging neatly on my front door:


I plan to change the ribbon since Easter has passed to a vibrant red.

Wednesday, March 16, 2011

Fabric Monsters

I wanted to do something fun for my 3 year old nephew that was coming to visit me last weekend with his mom and Grandma. I didn't have much time, so I decided I would try to make something small.

I created a stencil and got to work. Everything I used was from my stash.

Ultra cuddle fabric for the monster body.
Home Decor fabric for the eyes
Felt for the mouth
and regular cotton for the mouth and nose.

The end project was just cute as a button!


My sister-in-law loved it so much she asked for one for my niece. I finished it today. I think I like hers more.. shhhh don't tell. :) Hers has the cutest little bow and is so adorable.


Let me know what you think. Tasha

Wall Decor

I found these awesome directions online using freezer paper and fabric paint. I decided to give it a shot, but didn't want to paint on fabric. Instead I chose to try out freezer paper to canvas. It was pretty much like the same as the freezer paper to a cotton t-shirt.

All you need is
canvas
spray paint
image
freezer paper
iron
few books (for beneath the canvas center when ironing)
xacto knife
pencil or pen

So, you transfer your image to the freezer paper and then cut it out. Label the pieces as you cut them and on your original image so you know where the go when you want to lay them out. Place a book beneath the canvas and a piece of fabric to protect it. Then Iron the freezer paper cut outs to the canvas shiny side down.


Once you have finished, find a well ventilated area you can use to spray paint the canvas. Don't forget the sides of the canvas as well. Spray one coat and wait about 15 minutes and then spray another coat. Wait for 45 minutes to an hour and then check your project. Peel off the freezer paper and you have your finished Wall Decor Project.


Enjoy your new Wall Decor! Tasha

Monday, February 21, 2011

Memo Board

The memo board is finally complete and hanging on my craft room wall. Finally! Decided to use fabric buttons which was a little challenging, but after making almost 35 of them and sewing them to the intersections it has found a nice place on my wall!

I used the Moda Spirit Charm pack to make the memo board. I absolutely love how it turned out! If you want to make one, below is the tutorial information.


I used this tutorial found here Eva Patchwork Memo Board by Melissa Mortenson @ www.polkadotchair.blogspot.com

Sunday, August 22, 2010

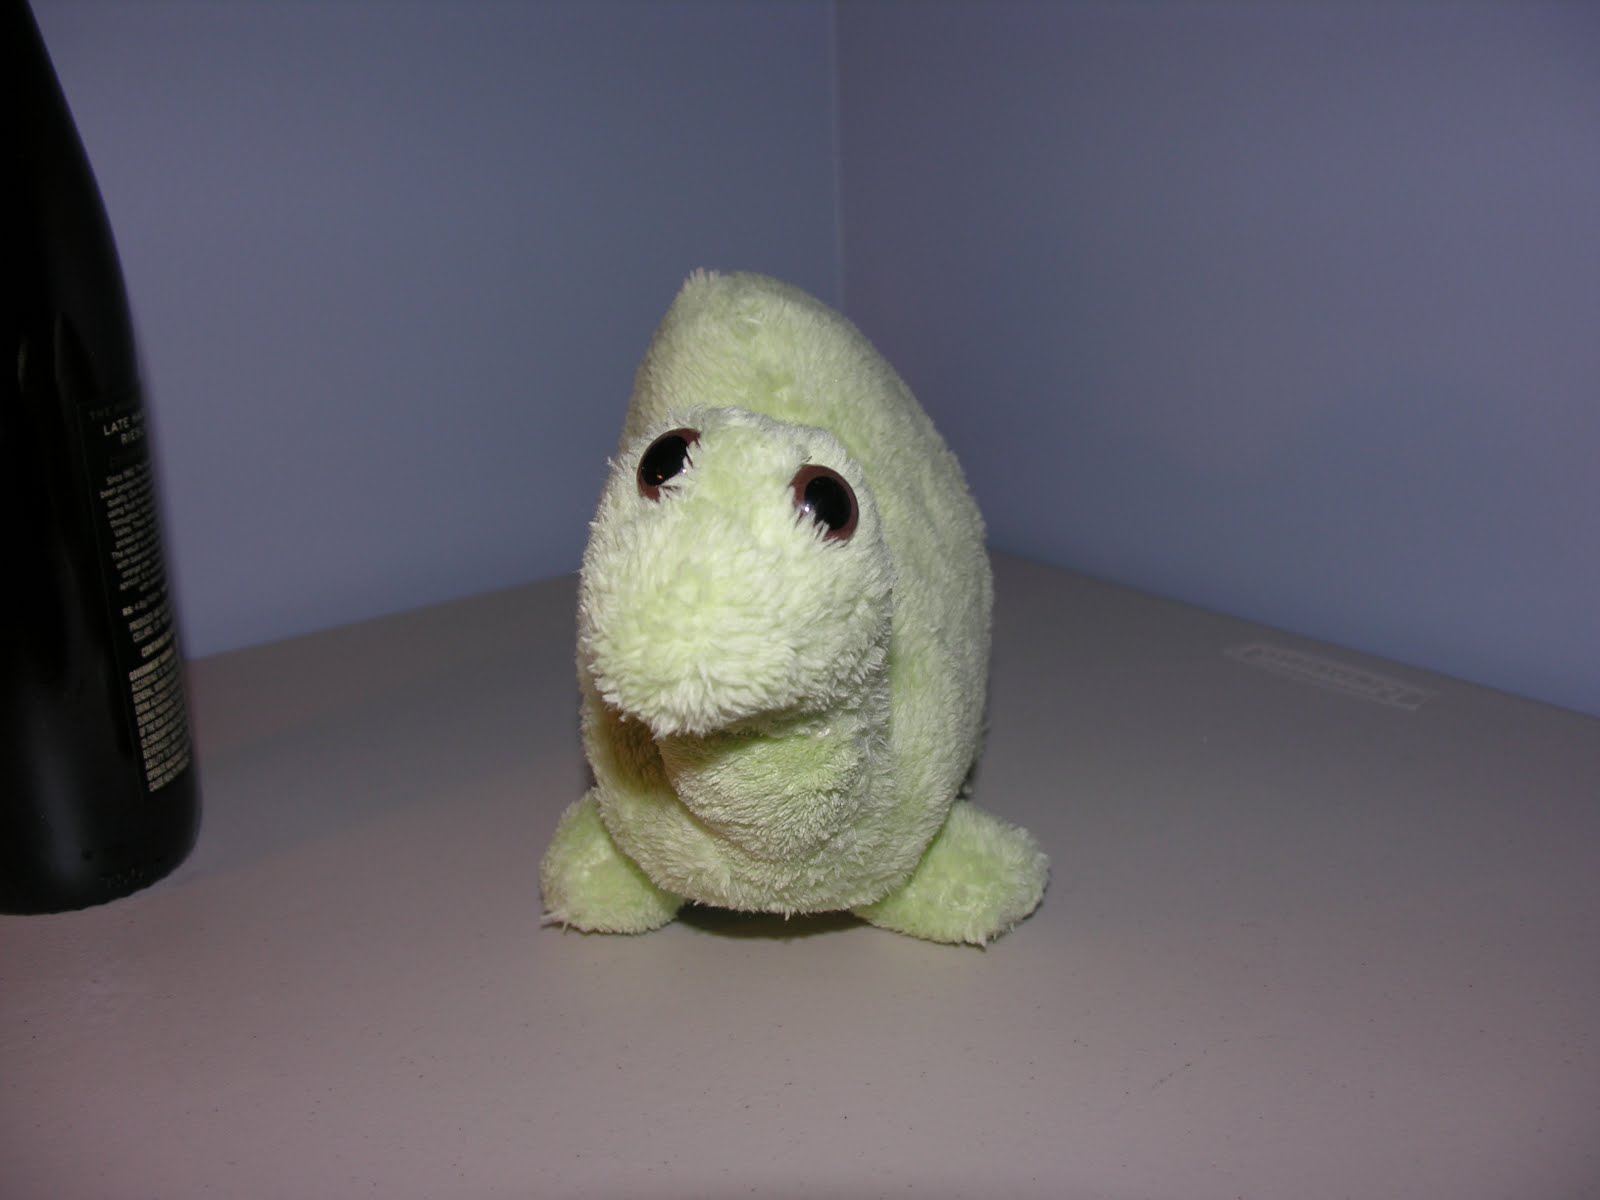
Hand stitched Stuffed Animal

I took 3 hours with a group of 6 women on August 17th and began working on a hand sewn stuffed dinosaur. I really love the way he turned out and the pics are below. So, looks like 6 days for me to finish this one. It was super cute and quite is quite challenging yet amazing.


Sunday, July 25, 2010

Table Runner Project

So I finally finished my table runner project and it's fabulous! It looks so wonderful on my kitchen table. I'm very excited now too because I plan to make some matching placemats as well as some matching quilted coasters. I'm in love with sewing and quilting. :)


Sunday, June 6, 2010

Ladybug Crib Quilt (quilting process)

Finally picked up a walking foot over Memorial Day weekend and put it on Saturday night. It worked like a charm for the 20 minutes that I sewed on the ladybug quilt. I left the machine for the evening and picked it back up Sunday afternoon. I had such a hard time getting the machine to work. Every time I had the walking foot (or even feed foot) on, the machine would lock up. If I removed it and put on the regular sewing foot, it worked just great. Finally figured it out and went about sewing.

During the day, I broke 2 needles because the foot became detached, but in the end, I finished quilting the sandwich together. Now all that remains is the binding...I think I'm falling in love with this one more and more. I am hoping that I don't ruin it with the binding.. that part is terrifying me. Not only the process, but the actual fabric... I guess that'll be a post for another day.


Monday, May 17, 2010

A lesson in Appliqué

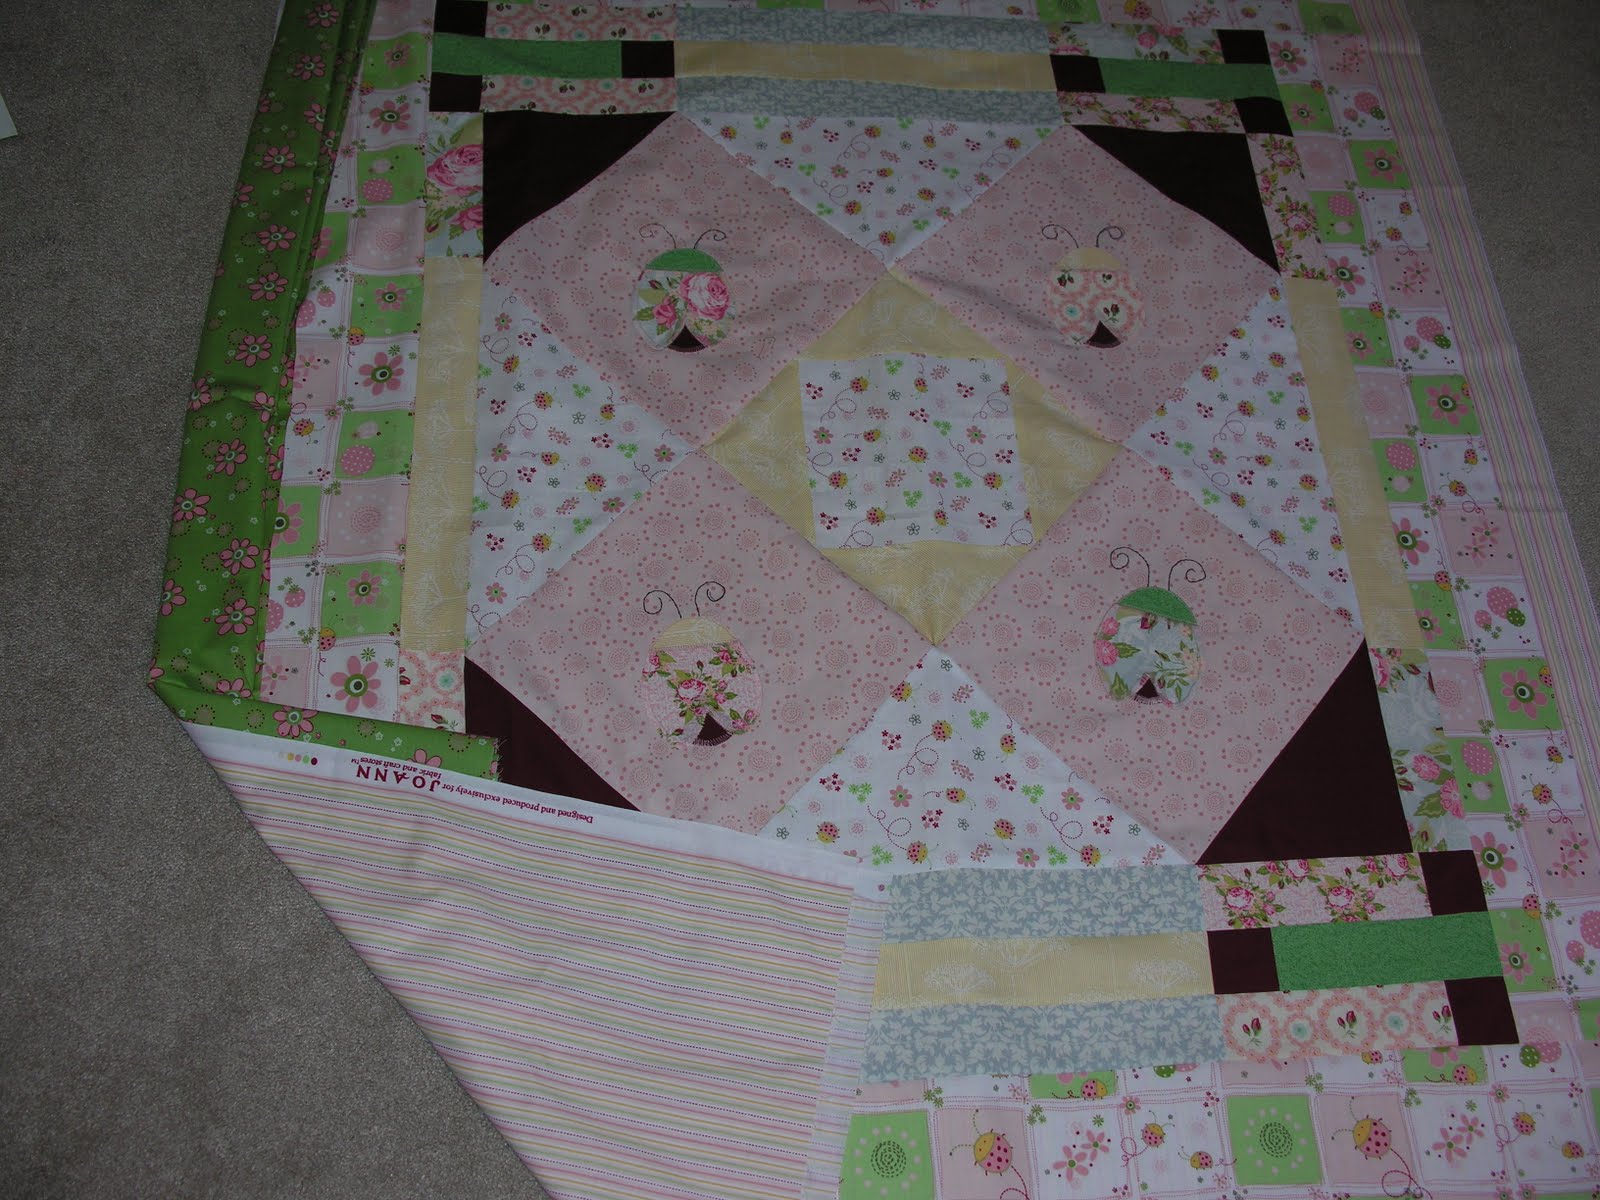
I can honestly say that I have no idea how to do or know what to do with Applique. I did a little bit of research and then a little practice and then set loose on the ladybugs. It was really interesting, hard and boy do I still need to work more at it. Even though they are not perfect, I'm very happy with how the finished product turned out. I still need to add the antennae - which I haven't decided what colors those will be yet. So any ideas??


Friday, May 14, 2010

New little person quilt


I decided on the pattern for the new little person quilt. It's based on a pattern found in a Fons and Porter Summer 2010 Magazine & am using the Kitty Komono Pattern. I'm removing the Pinwheels & going to appliqué Lady Bugs instead on all the big pink squares in the center. I have more fabric triangles to add to the center and rectangles around the edges in addition to the Lady Bugs. I'm super excited about this one. :)

This is the blanket I'm making with fabric found from the New creations post a few days ago. Additionally, I purchased 2 more fabrics from the Nursery Fabric Ladybugs theme for the backing and binding. I'm super dooper excited about this one. I will add pics of the fabric I have cut and laid out as of now when my camera battery is charged.


Here is a black and white of the original from the magazine.

Tuesday, May 11, 2010

A little birdy reminded me..

that I have a blog here and that I haven't posted in a while. I have been super busy the last 15 months with a new job and many other things that have been happening.

One of the many things that have kept me busy is that I have been trying to keep up with learning my sewing machine and making things, so I have set up a craft style room in one of our available bedrooms. I have been recently making baby burp cloths and trying to create my first quilt. I have pieced together the top and it's around the size of a queen sized bed, but I'm terrified of ruining it during the quilting process. I recently decided that I will create a miniature quilt like the one that I will be working with so that I can practice on it before I make it to the main first one. :) It's been wonderfully exciting and very fulfilling since I've begun doing this.

I'm going to try to keep this one updated with my crafty projects because I'm very happy with all the hard work that I've put into them.

Sunday, November 2, 2008

Pattern Creation


Ok, so what I did for this project is design "the look" of the bag on paper first. Now, this can change through the process of pattern creation.. but next I went on to creating and then cutting out the pattern. The first attempt at creating the pattern that I wanted yielded a minor error.. it was WAY too small! So, I went back and started over. I used printer paper and drew the pattern that I wanted and then cut it out. Where the one piece of paper was too small, I used scotch tape and put two sheets of paper together to get the size pattern that I wanted to create.. the following pictures will show the pattern that I cut out and used to cut the fabric.

Haha ok the following photos will show the fabric, design and the look of the tote/purse.


I absolutely love this photo because well, the bag body kind of reminds me of women's granny panties. :giggle: But don't despair, the bag body is much better than this..


Here's the rest of the outside of the bag body.
What I am doing with the inside liner is making a somewhat opposite version of this one. The curved edges will be brown, the V section will be the white with the stars and the middle edge (not yet shown) will be the striped pattern.


The handles will be brown on the outside with the stripes on the inside.


This last photo shows the pieces that will go on the outside/inside sides of the purse to make it a little more broad.


Well, so far this is as far as I have gotten. I need to go to the craft score and pick up some D rings and figure out how they will fit into it all since they'll be part of the handles as well as pick up some fusible heavy interfacing to make the bag a little more heavy duty. Additionally, will I make this bag a zippered bag or create a flap to "close" the bag from outsiders.. decisions decisions.